This guide will show you how to turn your audio files into text for free using TurboScribe. It's extremely accurate, easy to use, and — best of all — it's free.
With a free account, you can transcribe up to 3 files to text per day (up to 30 minutes per file). And, if you need to transcribe even more, you can upgrade to unlock unlimited transcriptions (up to 10 hours long each).
This tutorial will lead you through transcribing your first file using a free account. Let's get started!
Transcribing Your First File
After you finish signing up, you'll land in the main dashboard:
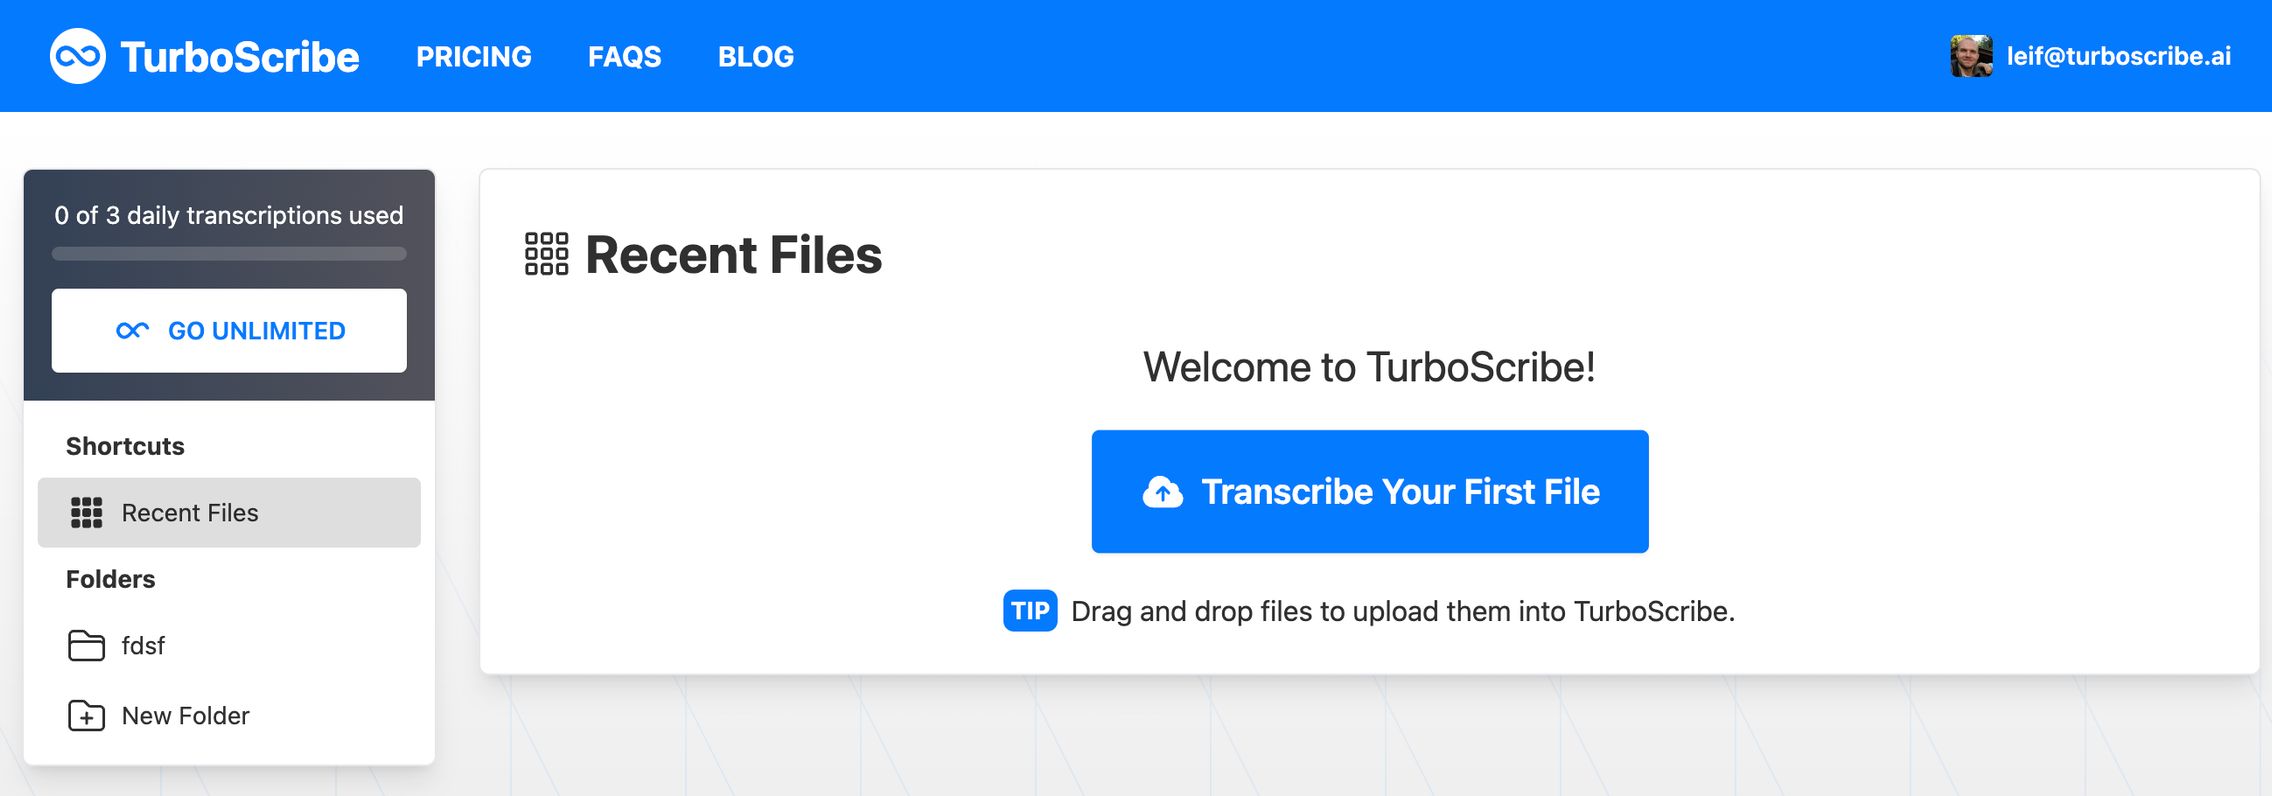
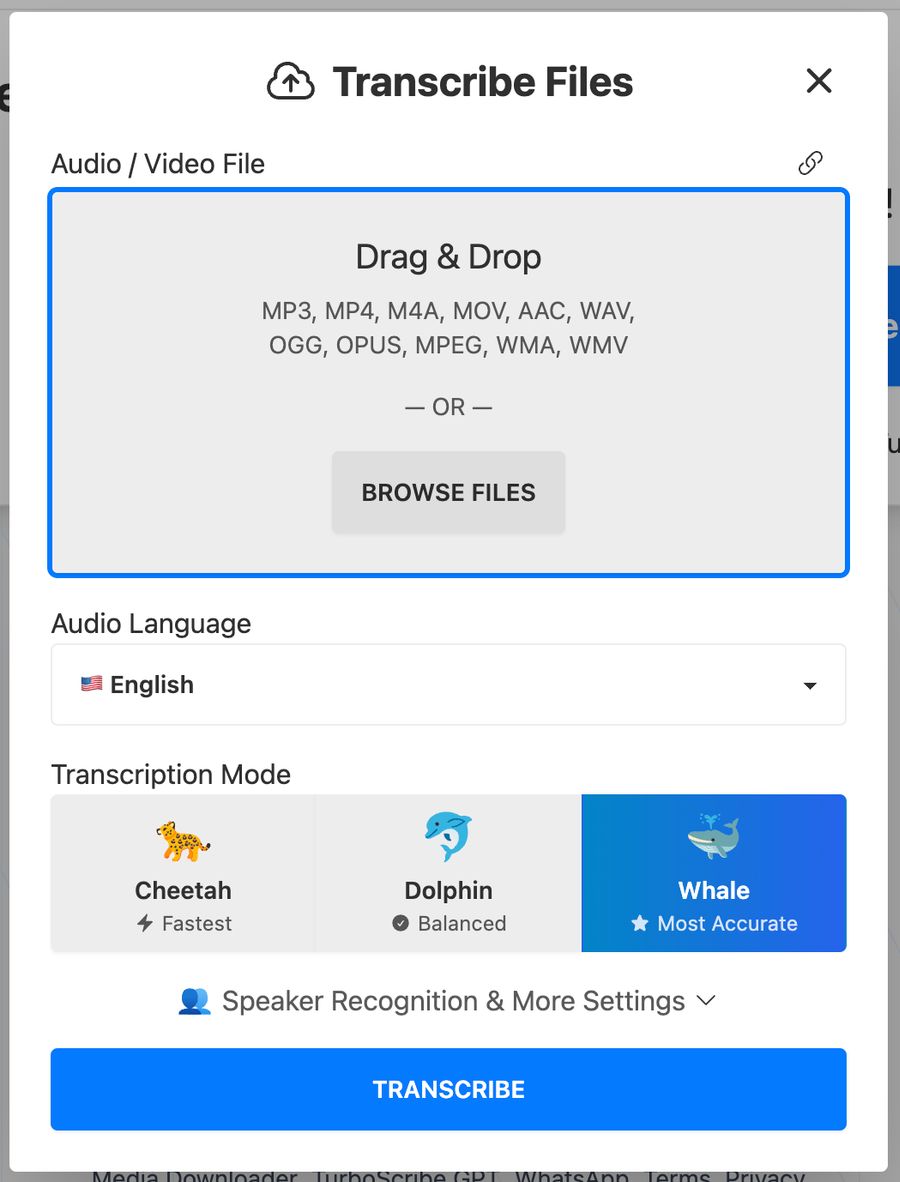
Let's start by clicking "Transcribe Your First File". This will open the upload dialog and you can now select a file you'd like to upload.
You can either drag and drop a file or click "Browse Files" to choose a file.
Audio Language
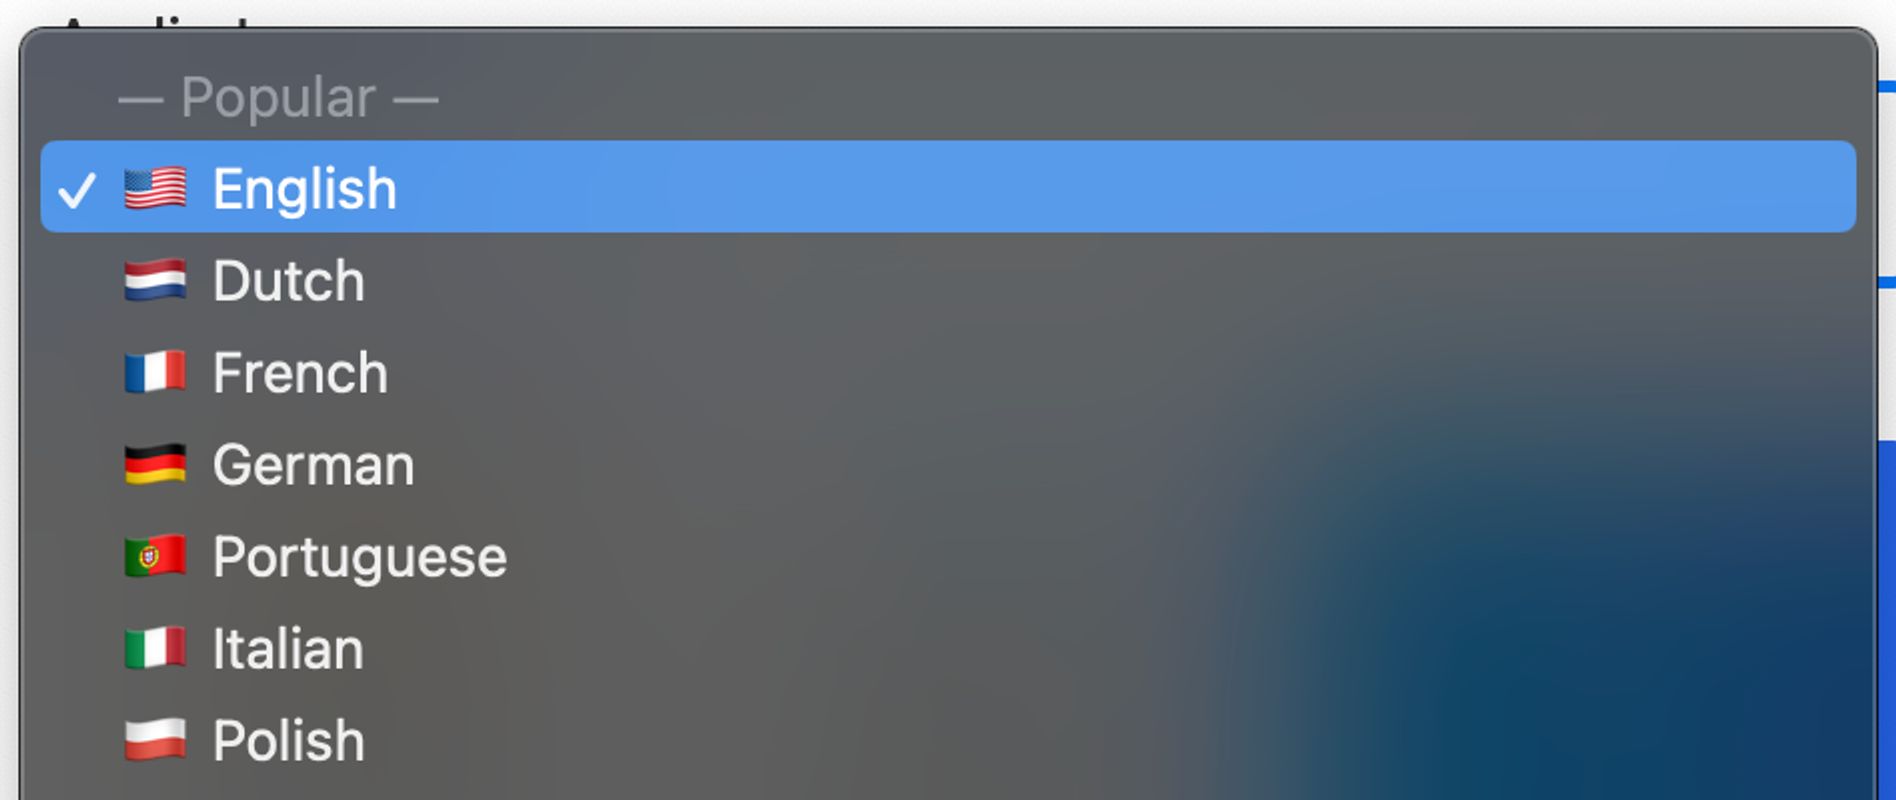
After uploading your audio or video file, you'll select the language. If your file contains English-language audio, you'll choose "English". And if your audio or video file is in Spanish, you'll choose "Spanish". TurboScribe supports over 98 languages.

Transcription Mode
Next, you can choose a transcription mode. The default is Whale, for maximum accuracy. This takes just a few minutes to transcribe an hour of audio or video.

I recommend sticking with Whale for most files.
Speaker Recognition
If you're transcribing a conversation and would like to automatically label speakers in your transcript, you can enable Speaker Recognition:
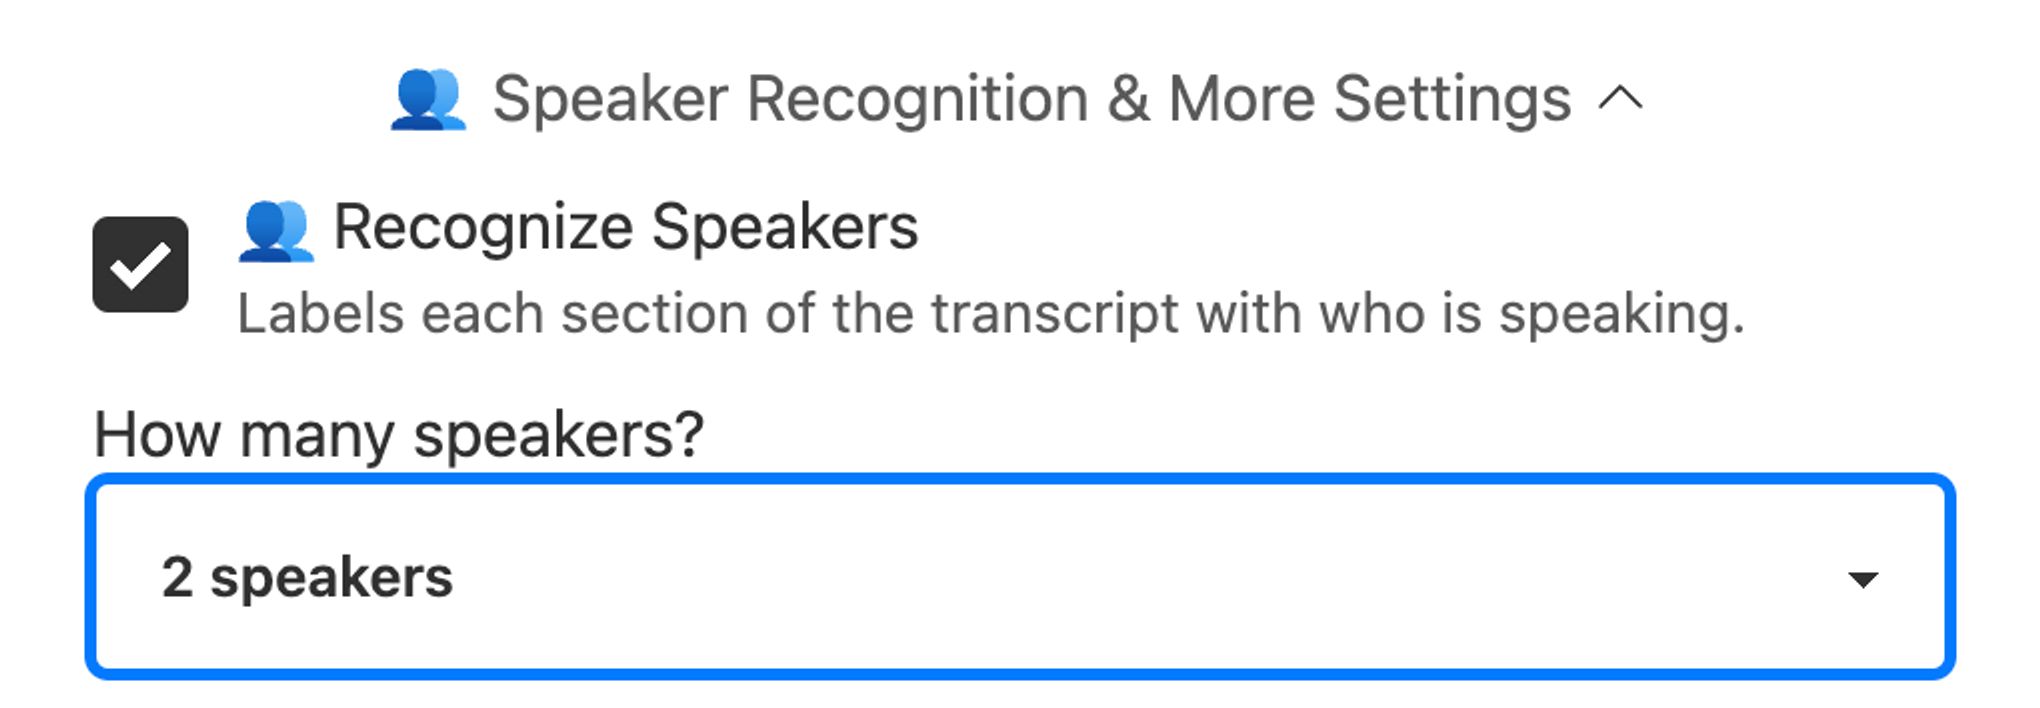
You can either specify the number of speakers upfront, or choose "Detect Automatically". Automatic detection can improve differentiation between speakers, but can also overestimate the number of speakers.
Start Transcription
When you're ready, click the blue "Transcribe" button.

This will start your transcription and your file will appear on your dashboard:

Open Transcript
Once your transcript is complete, you can click on it to view it:
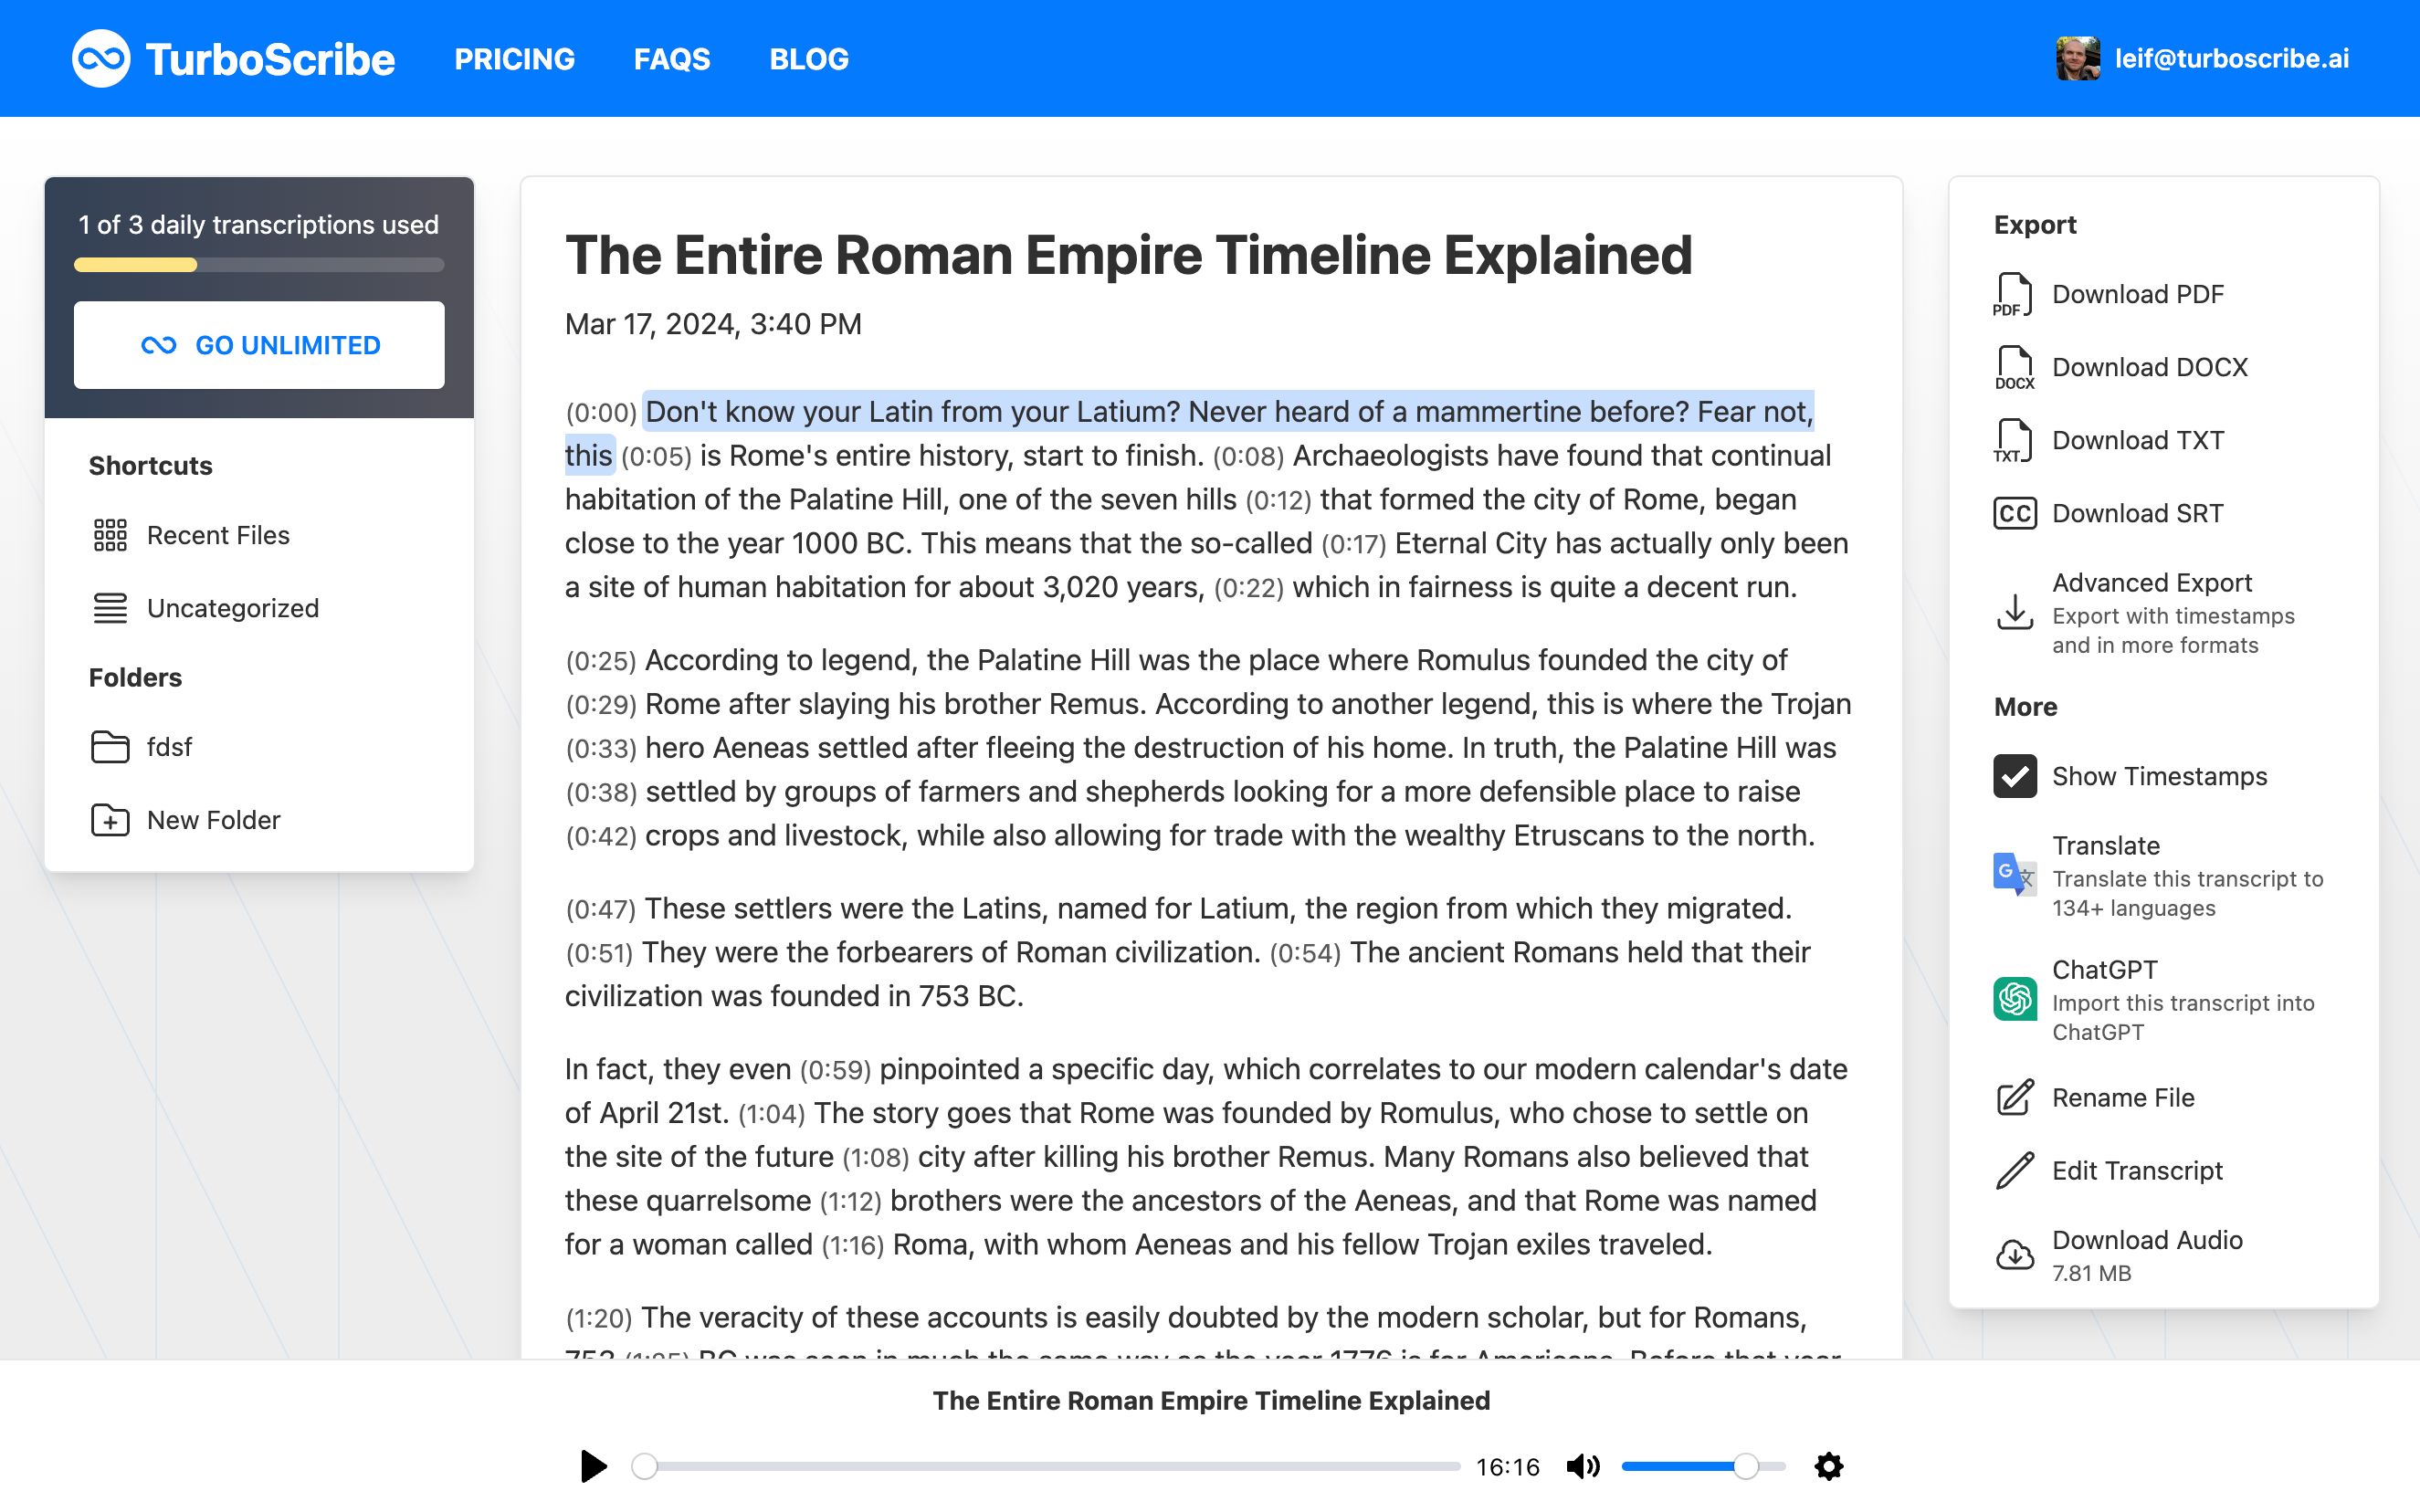
You can click any text in the transcript to play the audio at that point in time. This makes it very easy to check the accuracy of your transcription.
Finally, on the right hand column there are a number of different tools to use with your transcript. You can:
- Download your transcript in formats like TXT, DOCX (Microsoft Word), or SRT (subtitles). If you need to add timestamps or download in more formats, you can click "Advanced Export".
- Enable and disable timestamps in the transcript view. This will hide or show the timestamps in the transcript document.
- Translate your transcript to other languages. This will open the Translation Tool, which can automatically translate your transcript to over 134 languages.
That's it! You've now transcribed your first file and you can now continue uploading more files.
Happy transcribing! 😊


